May 09,2025
The production of high-quality paper cups relies heavily on precise machine calibration and effective humidity control during manufacturing. This guide delves into a critical aspects: a step-by-step process for debugging paper cup machines—covering mold alignment. By mastering these techniques, manufacturers can enhance operational stability, reduce defects, and ensure durable, leak-resistant paper cups.
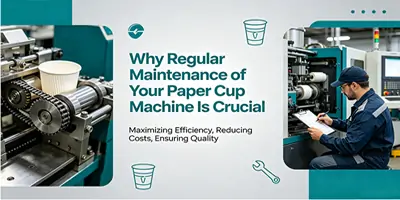
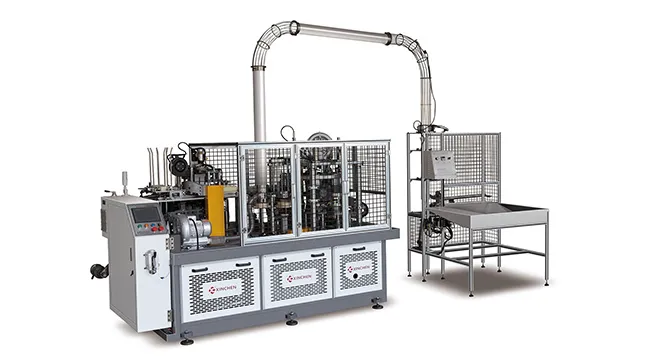
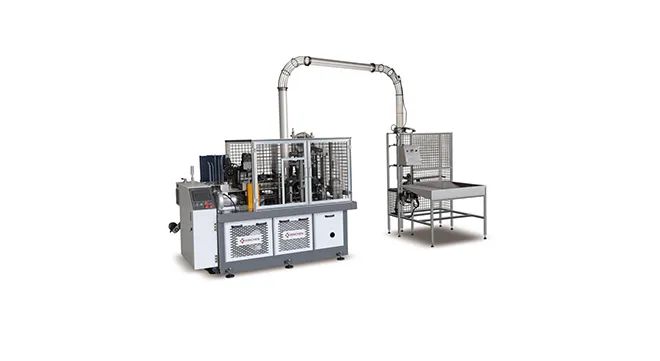
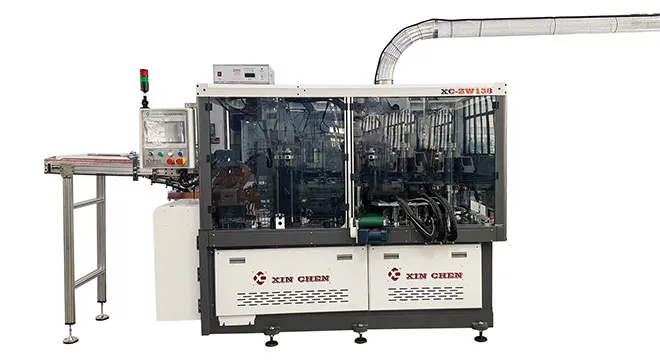
Paper cup machine debugging guide
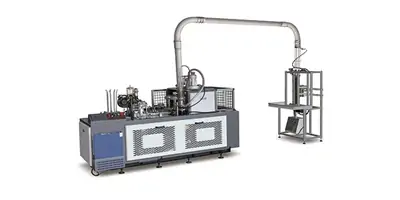
The debugging of paper cup machine is a key step to ensure the normal operation of the machine and the production of high-quality paper cups. The following are the basic process and precautions for debugging paper cup machine:
Preparation before debugging: Check the power supply and air source: ensure that the voltage is stable and the air pressure meets the equipment requirements (usually 0.6-0.8MPa)
Lubrication system: check whether the lubrication points have been filled with the right amount of lubricating oil

Mechanical parts inspection: confirm that there is no jamming of the moving parts and no loosening of the fasteners
Main debugging steps
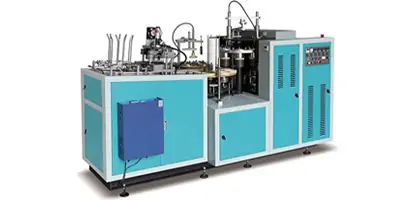
1. Mold debugging
Alignment adjustment of the upper and lower molds
Mold gap adjustment (usually 0.05-0.1mm)
Molding temperature setting (depending on the paper thickness, usually 150-220℃)
2. Paper feeding system debugging
Paper tension adjustment
Paper feeding wheel pressure balance
Paper positioning sensor sensitivity adjustment

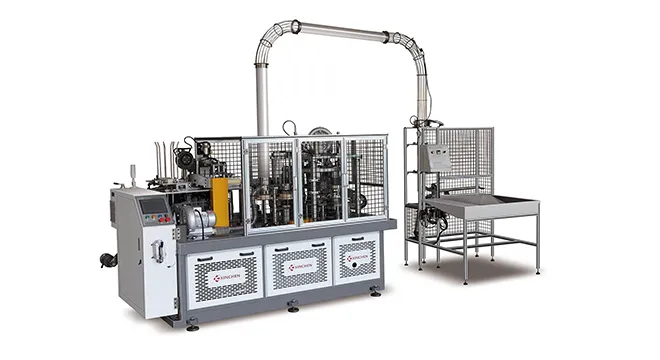
3. Molding system debugging
Cup body molding station temperature and time setting
Bottom folding station pressure adjustment
Cup bottom heating temperature control.

Check whether the position and placement of the backing paper are correct. The signal light must be aligned with the middle of the paper.

4. Debugging of cup discharging system
Matching of cup discharging conveyor belt speed
Adjustment of stacking device height
Calibration of counting device

Common problems and solutions
Uneven cup mouth: Check whether the upper mold pressure is uniform and the temperature is appropriate
Leakage at the bottom of the cup: Increase the bottom seal temperature or pressure and extend the holding time
Poor paper feeding: Adjust the paper tension and clean the paper feeding wheel
Cup jamming: Check the mold centering and adjust the position of the cup discharging guide

Check after debugging
Observe the stability of continuous operation for 30 minutes
Sampling and checking the size, sealing and appearance quality of paper cups
Record various process parameters as reference values
Safety precautions
Be sure to cut off the main power supply for mechanical adjustment during debugging
Be careful to prevent burns on high-temperature parts
Maintain good communication when two people cooperate in operation